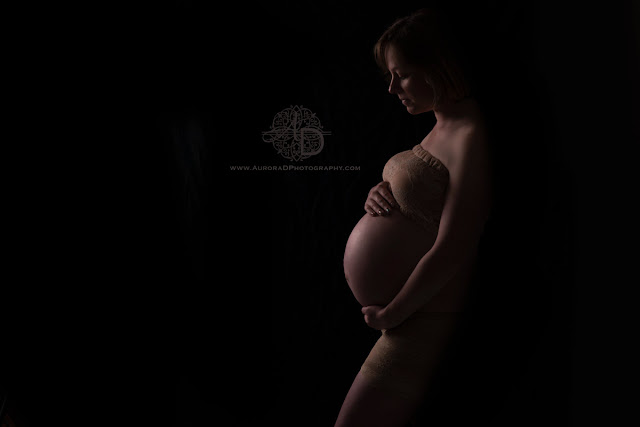
As a newborn and family photographer, a lot of people have asked me for help with some camera basics. I love to teach, especially when it's something I am passionate about. I find that many people struggle with their camera when they get their first DSLR. The camera, with all the bells and whistles, is really only a tool. Understanding how photography (and your camera) works is the first step toward taking amazing photos. This series is intended to be a quick overview of camera basics. The first part in this series is about exposure.
 |
"Carboniforous." One of my all-time favorite macro images, he
can be found in the 2014 Professional Photographers of America
Loan Collection. |
Exposure is the backbone of photography, because photography is all about light. Exposure is the amount of light per unit area which
reaches the camera sensor on a digital camera or the film on a film
camera. It is considered to be too
high when the image loses detail in the highlighted areas of the image, often
known as “blown highlights”. Conversely,
exposure is considered too low when you lose detail in the shadows of the
image. Underexposure generally is easier
to recover on a digital camera than overexposure.
The exposure is 'technically' correct when the recording is
completely within the dynamic range of the camera. However, that’s only a piece of the
puzzle. The reality is that the exposure
is correct when the photographer reaches their desired results. Sometimes a photographer uses blown
highlights or shadows details purposefully, making ‘correct exposure’ a liquid
term.
Increases and decreases in exposure are measured in ‘stops’
of light. Moving a stop up will double
the amount of light, while stopping down your light will cut it in half. You control the amount of light coming
through to the sensor by way of your shutter speed, ISO and Aperture. Changing one of these elements will change the
amount of light reaching your camera. However,
each change comes at a price. Balancing
each of these elements is the key to creating a great exposure.
SHUTTER SPEED
Shutter speed is simply the speed at which your camera
shutter opens and closes. Another way to
think about it is how long the light is allowed to reach the sensor. A slower speed can lead to camera shake
unless the camera is balanced on something like a tripod. A faster speed can underexpose your photo. A general rule for hand holding a camera is to
keep the shutter speed ‘faster than the focal length of your lens’, but not
slower than 1/125 of a second. So if you
have a 200mm lens, keep the shutter speed at least 1/250. Shutter speeds are always measured in seconds
and fractions of a second. Here is a a range of shutter speed in full stops from more light to less
light.
Slower (more light) 1 1/2 1/4 1/8 1/15 1/30 1/60 1/125
1/500 Faster (less light)
 |
You can see that this image isn't as sharp as the others. I did not
have a tripod at hand and camera shake was a problem here. |
APERTURE
The aperture is the opening and closing of the aperture
blades within lens, which act similarly to the pupil of your eye. This controls how much light is allowed
through to the sensor. When
photographers say they are ‘shooting wide open’, they are referring to a wide
open aperture (which is, conversely, a smaller f-stop). Aperture is measured in f-stops, which
represents the stops of light. Aperture
is one of several elements that control depth of field. Here is a range of shutter
speeds in full stops from more light to less light.
Wider (more
light) 1.4 2.0
2.8 4.0 5.6
8.0 11 16
Smaller (less light)
 |
This is a shallow depth of field with a wider
aperture. |
 |
Narrowing down the aperture helped put
more of this cicada in focus (I would keep it
wide for portraits of children, however) |
ISO
ISO is the measurement of sensitivity to light either by
film in a film camera or the sensor of a digital camera. Increasing the ISO and the sensitivity of the
recording medium (film or sensor) increases the amount of grain. However, a low ISO can cause
underexposure. Here is a a range of ISO in full stops from more light to less light.
More
sensitive (more light) 3200 1600 800
400 200 100 50 Less sensitive (less light)
 |
As much as I love his eyes, this image struggles with grain
and a wide open aperture. Look particularly around his legs. |
IN CONCLUSION
Exposure is all about three interrelated parts. These three parts create an image that is unique to you. Exposure is very individual, but nailing your exposure is the difference between a fantastic image and a poor to mediocre one. If you're still having some trouble understanding how they work together, think about this analogy:
 |
| A big thank you to my husband for this one! |
Now that you know what it is, it's time to put it to the test. In the next Photography 101 article, I'll discuss how to change your exposure settings using your various camera settings.
 |
| An exposure cheat sheet for you. |
I love hearing from my readers. Please feel free to leave a comment if you have any questions or contact me. If this post inspires you to take some photos, send them my way, I'd love to feature you on my Facebook page!


